Christmas Cookies: Coal Cookies

Wednesday, November 30, 2011 1 comment


This is actually a project that went a little bit different than my original plans.  I knew I wanted to bring a bag of 'coal' to a friend of mine as a hostess gift (last Christmas).  I found a chocolate cookie recipe, and to call it a complete failure would be too kind. 
I was tired, and I wasn't going to try that recipe again, nor did I have any ideas regarding what I should try INSTEAD, BUT I had already sewed the bag together using a few pieces of felt I cut out and stitched together (I doubled the white thread to make it thicker). 

 
I decided to get over my failures as a cookie connoisseur on this particular day, and I dipped some oreos and chocolate and sprinkled them with black sprinkles.  This turned into a no bake Coal Cookies project. I can live with this, I've had much worse days in my life, and it was still an easy, and funny gift to present to one of the gals on Santa's Naughty list. 

Christmas Cookies: Milk and Cookies Exchange Idea (Neiman Marcus Cookies)

Tuesday, November 29, 2011 2 comments
I saw this cute little printable here, and I knew exactly where this would be headed this year!  Last year I spent a lot of time considering my cookie packaging, and...of course, I saw this AFTER I sewed 25 sleeves and committed to a different idea.  This is such a fun way to exchange cookies, and I knew the perfect recipe to fill these little guys up with.  My friend Regan's dad introduced me to Neiman Marcus cookies years ago.  They are a really great cookie with a touch of coffee.
Neiman Marcus Cookie Recipe
Ingredients:  1/2 c. stick butter (softened), 1 c. light brown sugar, 3 T. sugar, 1 egg, 2 t. vanilla, 1 3/4 c. flour, 1/2 t. baking powder, 1/2 t. baking soda, 1/2 t. salt, 1 1/2 t. instant expresso coffee powder, 1 1/2 c. semi-sweet chocolate chips. 
Instructions: 
1.  Preheat oven to 350 degrees. 
2.  Cream butter with sugars. 
3.  Beat in eggs and vanilla. (about 30 seconds)
4.  Si in flour, baking powder, and baking soda on low.
5.  Stir in expresso and chips (I finally found the instant expresso at a higher end grocery store). 
6. Make 2 T. balls.  Drop on greased sheet.  Gently press down (into 2 inch circles).
7.  Bake 20 minutes. 
*Makes 2 dozen.  I made mine a little smaller so they would fit inside my milk cartons. 

Christmas Cookies: 2010 Work's Cookie Exchange Recap

Monday, November 28, 2011 2 comments
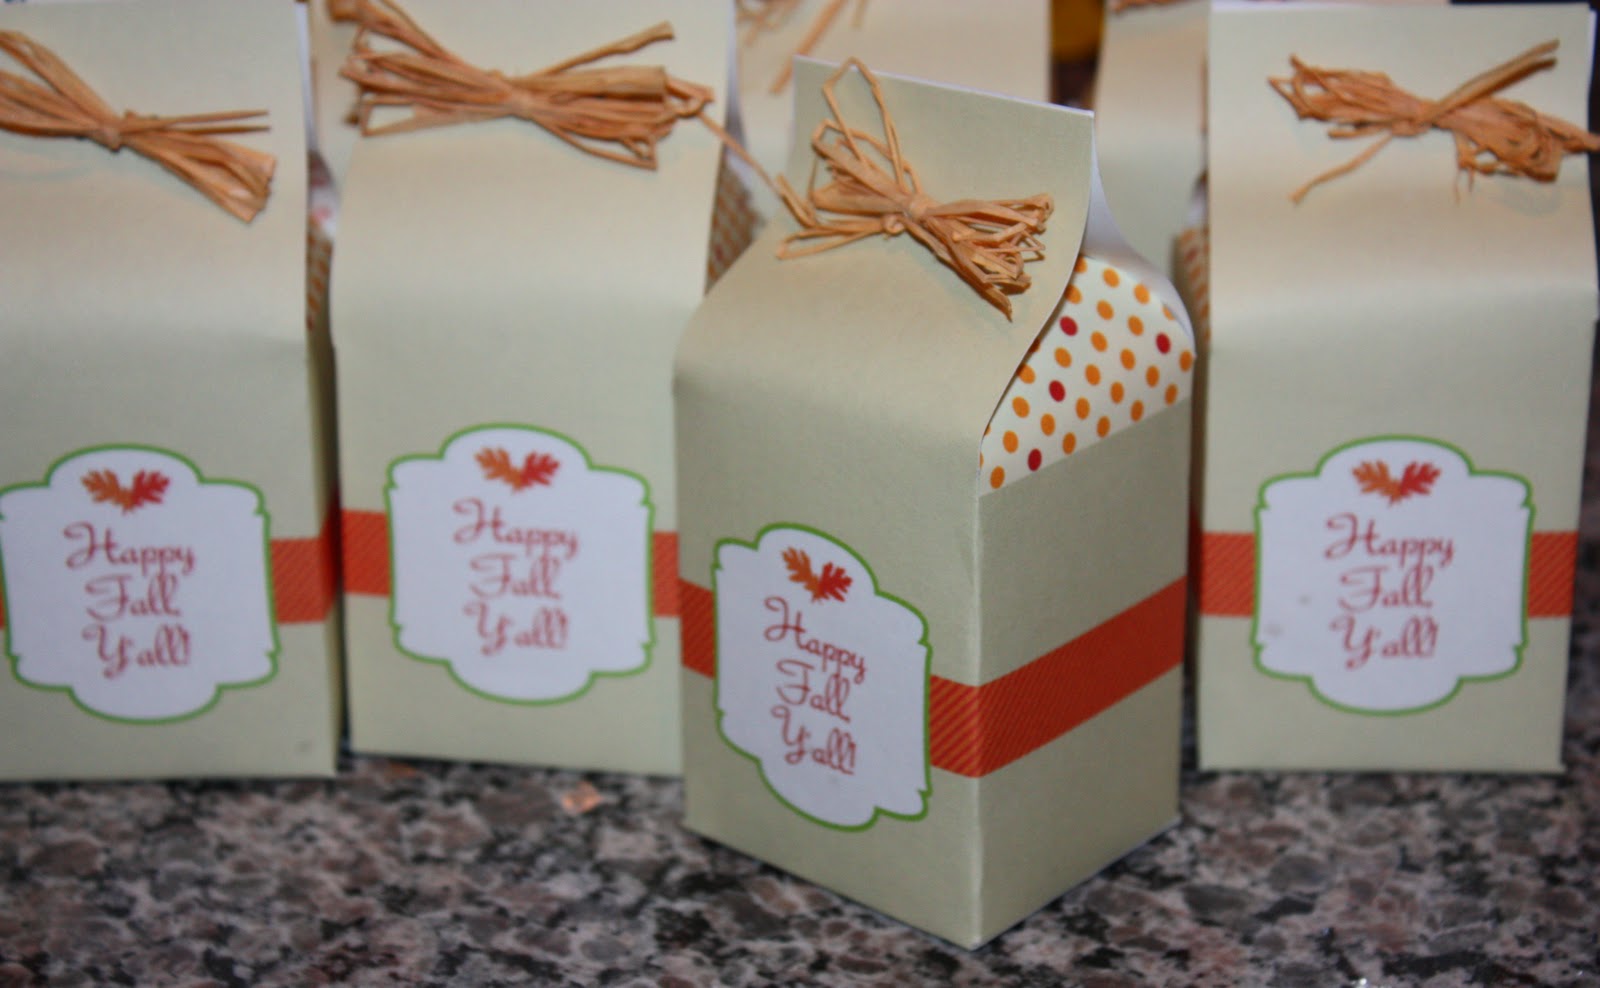
Last year, my work go together for a cookie (recipe) exchange.  26 total bakers participated.  We took a recipe twist on the tradition.  Each baker was in charge of bringing two cookies per participant in some sort of bag or packaging, and attach the recipe.  I made hot chocolate cookies, the recipe, and my package are here
It was almost as exciting to see the cute packaging ideas as it was to acquire 26 new recipes, and eat 26 cookies....almost. 
A lot of my friends decided to enjoy one cookie an evening....I, on the otherhand, am way too impatient for this. I opened every single package....

I photographed every cookie with it's recipe, and then took a bite off each recipe, and sorted the recipes into love, like, and sweet memories from friends.  It took me all night, and one really awful stomach ache, but when there is a will...there's a way.
I won't be getting rid of any recipe, recipes are some of my favorite things from friends, and there were a lot of really yummy ones, but these are (just a FEW) of my top, in no particular order...
Click on the pictures to enlarge them and read the recipes if they interest you. 
Rochelle's Black and White Cookie
(These were so soft and tasty.)
Kristine's Crunchy Chocolate Caramel Cracker Cookies
*These remind me of toffee.  Don't leave them in the freezer too long or they will stick to the paper.
I'm including this photo so I remember what they look like (top and bottom of the cookie).
Debbie's Gingersnaps
*These are soft, and just DELICIOUS!  She said she made these weeks before and froze them with wax paper between the cookie layers.  Incidentally, this is about the 25th recipe I've tried, and blogged about from Debbie.  She is just the BEST chef, cook, baker, and co-worker! 
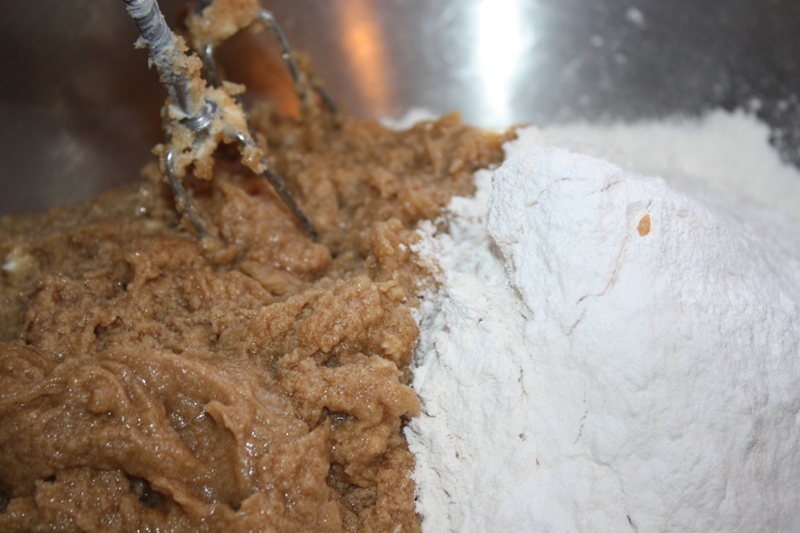
Instructions: 
Cream together:  1 1/2 c. soft margarine, 2 c. firmly packed brown sugar, 1/2 cup dark molasses, and 2 eggs.
Sift together:  4 1/2 c. flour, 3 t. baking soda, 2 t. cinnamon, 2 t. ginger, 1/2 t. salt, 1/2 t. ground cloves.  Add this to the above creamed mixture. 
Chill in refrigerator for at least 1 hour or longer.  Roll into small balls.  Dip into cold water, then into sugar.  (Can just roll into sugar without the water!)
Bake for aboug 10-12 minutes in 350 degree oven on greased cookie sheets. 
Remove from oven, and let cookies cool on wax paper.

A Week of...Christmas Cookies

As I began this post, I realized I have well over 50 different cookie recipes.  Below are this week's recipes, but if you click the label at the bottom of this post, 'cookies', it will weed through all the recipes and pull out the cookie recipes.  Links to each project, how to's and recipes, and any tutorials or printables will be attached as the week goes by, and post pop up each day. 
I also have a few past post that include things like the below gift set I've made for some little friends in my life to bake their own cookies for Santa.
Last year my work participated in a cookie exchange, I brought Hot Chocolate Cookies (recipe and how to on packaging here). 
Things I won't be discussing?  Pounds gained during above festivities. 
2.  Next up is another fun packaging idea, and yummy cookie recipe, the milk carton printable and Neiman Marcus Cookie recipe attached. 
3.  Easy, but fun-Coal Cookies
4.  My Grandmother's Sugar Cookie Recipe, the most personal, and my favorite of the mix.  It's a yearly tradition. 
5.  My cousin Holly has a Chocolate Chip Cookie recipe that is gaining popularity and request amongst our family group as well, and I found this cute idea for serving them on a glass of milk with straw threaded through the cookie (links and recipes attached). 
6.  Cookies on a Stick, life...or a week wouldn't be complete without a stick project. 
...and as these are posting, I'm baking more cookies....to post next year. 


Linking To: Tip Junkie  Making the World Cuter  CraftOManiac  Dittle Dattle Crafty Soiree Tatortots and Jello Funky Junk Be Different Act Normal

Wooden Penguin

Saturday, November 26, 2011 No comments
 I made this little guy for my pal Regan who love penguins.  I saw it on Etsy at Wellgood.  You can buy all kinds of cute kits from her.  My friend Terry originally sent me to her site.  I grabbed a fence post, and then a larger board for the penguin body out of the scrap section at Home Depot.  The guys cut the board for me there for free.  The wings, body, and nose I made out of another thin piece of wood I bought and cut out with my jig saw.  I found the snow flake in the unfinished wood at Hobby Lobby, and I sprayed some glitter.  Every project is better with glitter.  I nailed his little fishing pole (twisted wire, bought at Home Depot) onto his body.  After passing customs...
He found a new home further North of Texas.  Penguins don't do well in Texas winters. 

Christmas Tree Keepsake

Friday, November 25, 2011 2 comments
My friend Heather told me about this idea, and it's so simple, yet so sweet.  I began my own collection last year.  I love fresh trees, and I purchase one each year.  I asked the guys bagging up my tree this past year to give me the cut from the bottom they always saw off to have a 'fresh' cut for when I take it home drink water.  I wrote the year, who was there, and where we were (there's a bit of a 'code' for the locations, but I'll know what they mean). 
I also used some mod podge, and I put a picture from Christmas on the reverse side. 
I sprayed it down with some waterproof sealant (that I use to make coasters). 
I may eventually drill a hole in the top and turn these into yearly ornaments, but for now, I'm going to place them in a bowl, like Heather does.  I loved exploring her collections of various sized trees, and the memories she inscribed on the wood using a permanent marker. 

Happy Thanksgiving!

Thursday, November 24, 2011 1 comment
Rejoice always, pray without ceasing, give thanks in all circumstances; for this is the will of God in Christ Jesus for you.
1 Thessalonians 5:16-18

A Simple Thanksgiving Place Card

Wednesday, November 23, 2011 2 comments
I've seen this idea frequently around magazines, and the internet, and I decided it was time to try out a sugar cone cornicopia.  There were quite a few ways to try this out via steaming/boiling water ect.  I decided to just spray some water on the end of a sugar cone, and pop in the microwave for thirty seconds.  When I pulled it out, I gently pulled the end of the cone up towards me to create a curve.  A few didn't move right away, and need more time in the microwave.  I filled 'em with trail mix, and can add a name on each for a place setting.  As a bonus, you can also heat fortune cookies in the microwave to open them up, pull out the old fortune, and insert a new fortune before bending them closed.  I realize that this sort of info just might change your life (...or not), so I'll end there....

My Grandmother's Cornbread Dressing

Tuesday, November 22, 2011 2 comments
The one dish I could not do without for Thanksgiving is my Grandmother's cornbread dressing.  When I've had guest over for holidays, I try to ask what  dish represents that holiday meal for them, and provide the dish.  I know how I'd feel  going without dressing for Thanksgiving.  I know there are a million ways to make dressing, but this is it for me.  What I love about traditional holiday meals is that I know this is exactly what my family ate before I was a part of the family, and it just makes me feel a little closer to those I miss on holidays, and every day in between. 
Cornbread Dressing Recipe
Ingredients: 
4 packages of cornbread (cooked and then crumbled), 1 chopped onion, on whole sock of celery (chopped).  Turkey water, 2 raw eggs, salt and pepper. 
Instructions:  Cook cornbread (you can use water instead of milk, or half and half).  Add eggs, onion, and celery, and turkey juice until moist. 
Cook at 350 for 1 hour (or until not longer wet looking, and golden brown on top. 

Thanksgiving Ideas

Monday, November 21, 2011 2 comments
I'm headed to GMT today (yay).  It's always a neat experience, and it's always different.  I've been fortunate that I don't have as many travel needs this year, and I'm able to take a few half days from my job to enjoy this new experience (my days are usually eaten up with travel to see friends for their festivities, my friends have been kind enough to schedule the birth of their children, and marriages during long school breaks...not in that order).  I'm learning a lot from these experiences!  Not sure what I'm going to do with that knowledge, but....I always enjoy the adventures God takes me on.  I'll be sharing one of my favorite crafts ever....which I didn't do.  This is my friend Mary's table cloth.  She began it in 1977, the first year of her marriage.  Her family signs it each year.  She grew up with 12 brothers and sisters, and has 4 kids (now grown), and 2 grand kids that have been signing this beauty for years.  She let me borrow it for the show.  If you never read another post, go check out the link to this with close ups of some AMAZINGLY touching signatures and pictures....
Family Tablecloth

Side note, if you don't embroider, they also sell pens at the craft store that are washable permanant you can use instead. 
Next up are these gratitude rolls.  The link these came from, and instructions can be found below.  I love these because they are really easy, and it's like a fortune cookie, except....seasonal....and probably lacking lucky lottery numbers, but still, what a fun tradition...
Gratitude Rolls

I did  these little Trailmix Filled Favors I put together last year (again, original links below to printable). 
Trail Mix Favors

The year before I made Teepee Cake  favors.
 I have a ton of Thanksgiving recipes, if you want to explore, hit on the link below this, or the one on the right hand side of this page that says 'Thanksgiving.'  If not.....well, then don't do that.

Free Dress Pattern

Saturday, November 19, 2011 1 comment
 Another cool thing about the internet?  FREE patterns!  I found this pattern on a site called made.  I decided to make this little dress for my goddaughter....due any day.  Homegirl is going to be the most fashionable diva after all the items all her pseudo aunts have sent her way. 
I usually hate patterns and avoid them as much as possible, so when I share one....it must have been completely doable and fun.  I'm lining up therapy appointments for all the failed attempts at following a pattern.  All this to say, this is an easy one, and has lots of possibilities for super cute dresses.  The original pattern actually uses an old tshirt for the dress portion. 
So....here's the pattern printed....for free.  Whoop whoop. 
Cute out two pieces, and sew down the sides. 
 I folded down what would be the arm hole later and sewed it flat. 
 I gathered the top of the front and back. 
 Created a bow using another color, and sewed that over the gathers to hold them in place.
 I went even cheaper and one side is pretty rough, but I'm guessing little nugget grows fast and may just get to feature this one time....as any truly fashionable girl does. 
This is just one of those patterns that you can figure out by looking t it....and following the attached directions on the link above...which I will be doing again soon!